£2.99 for 10 tokens



The repair is the quick part of restoring an old photo. A decent AI tool will clear scratches, creases and a yellow cast in under a minute. What takes longer, and what decides whether the result still looks like your grandmother, is the copy you start from and the time you spend comparing faces afterwards. Here is the whole job in order: handling the print, getting a good scan with a scanner or a phone, repairing it with AI or by hand, and checking it before anything gets printed or posted to the family group chat.
How to Restore Old Photos
Scan It Properly, Repair It, Then Check the Faces
Digital restoration never touches the print itself. You make a copy, you repair the copy, and the original goes back in its box exactly as it came out. That is worth holding on to, because the one way to make an old photo genuinely worse is to damage the print while trying to scan it.
How Should You Handle Old Photos Before Scanning?
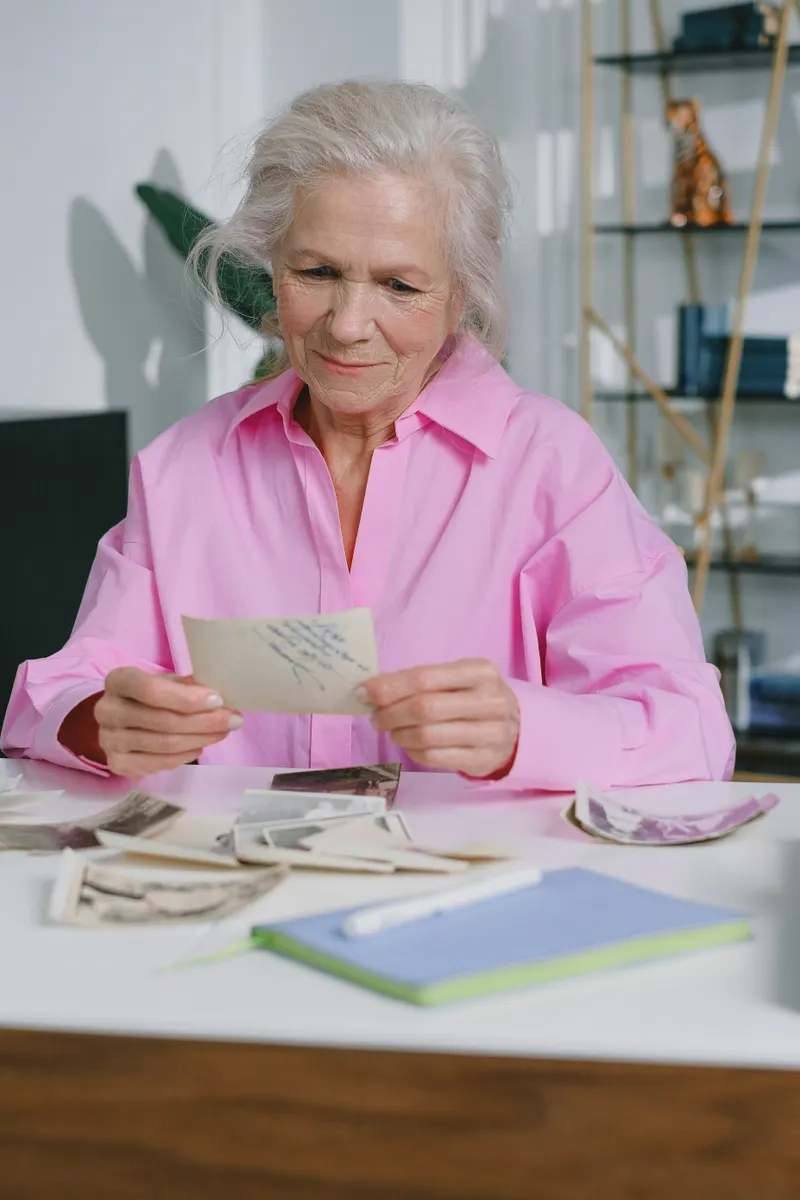
Wash and dry your hands first and hold prints by their edges. The Northeast Document Conservation Center recommends nitrile gloves for photographic material, and specifically not cotton ones, which leave fibres behind. The US National Archives puts the reason bluntly: fingerprints can leave permanent stains on photographs and negatives.
A few things to leave alone. Do not mend a tear with sellotape or glue; the Institute of Conservation notes that the adhesive fails over time and leaves a stain of its own. Do not wipe a print with a damp cloth or anything from under the sink. And if photos are stuck to each other or to the glass of a frame, stop. The Library of Congress says prints in that state are often impossible to separate without seriously damaging them, and recommends asking a photograph conservator. A print stuck to glass can still be copied: lay the frame glass side down on a flatbed scanner and scan it through the glass. In the UK, the Institute of Conservation runs a searchable directory of accredited conservators at conservationregister.com.
Everything else, a curled corner, a crease, a coffee ring, is fine to scan as it is. The repair happens later, on the file.
What DPI Should You Scan Old Photos At?
Use 600 DPI as the default for ordinary prints. It is the setting most restoration and scanning guides settle on, because it captures the real detail in a typical print and leaves room to crop. Go to 1200 DPI for small prints, wallet photos, contact sheets and any group photo where you want to pull out one face later.
Two settings matter nearly as much as the resolution. Scan in colour even when the photo is black and white, because a colour scan records the yellowing, silvering and brown staining that a greyscale scan throws away, and a repair tool uses that difference to tell damage apart from the picture. And save the master as TIFF or PNG rather than JPEG, so the file you keep has no compression added on top of the damage you already have.
Wipe the scanner glass before you start. Every speck of dust on the glass becomes a white dot on every scan, and you will end up repairing the same dot forty times.
lightbulb
Name the files as you go. 1974-blackpool-nan-and-grandad.tif is still useful in twenty years. IMG_4471 is not.
Can You Scan Old Photos With Your Phone?
Yes, and for most family prints the result is close enough to a flatbed that the difference will not show once the photo is restored. The maths is simple. A standard 6x4 print scanned at 600 DPI comes out at 3600 by 2400 pixels, about 8.6 megapixels. A 12 megapixel phone camera can match that, but only if the print fills most of the frame. A photo of a print sitting in the middle of a kitchen table is mostly a photo of the table.
Glare is the real problem with glossy prints. Shoot in daylight near a window rather than under a ceiling light, keep direct sun off the print, and hold the phone flat and parallel to it so the edges stay square. Lay the print on something dark and matt. Do not use the digital zoom to get closer; move the phone instead, for the reasons covered in our guide to fixing blurry pictures.
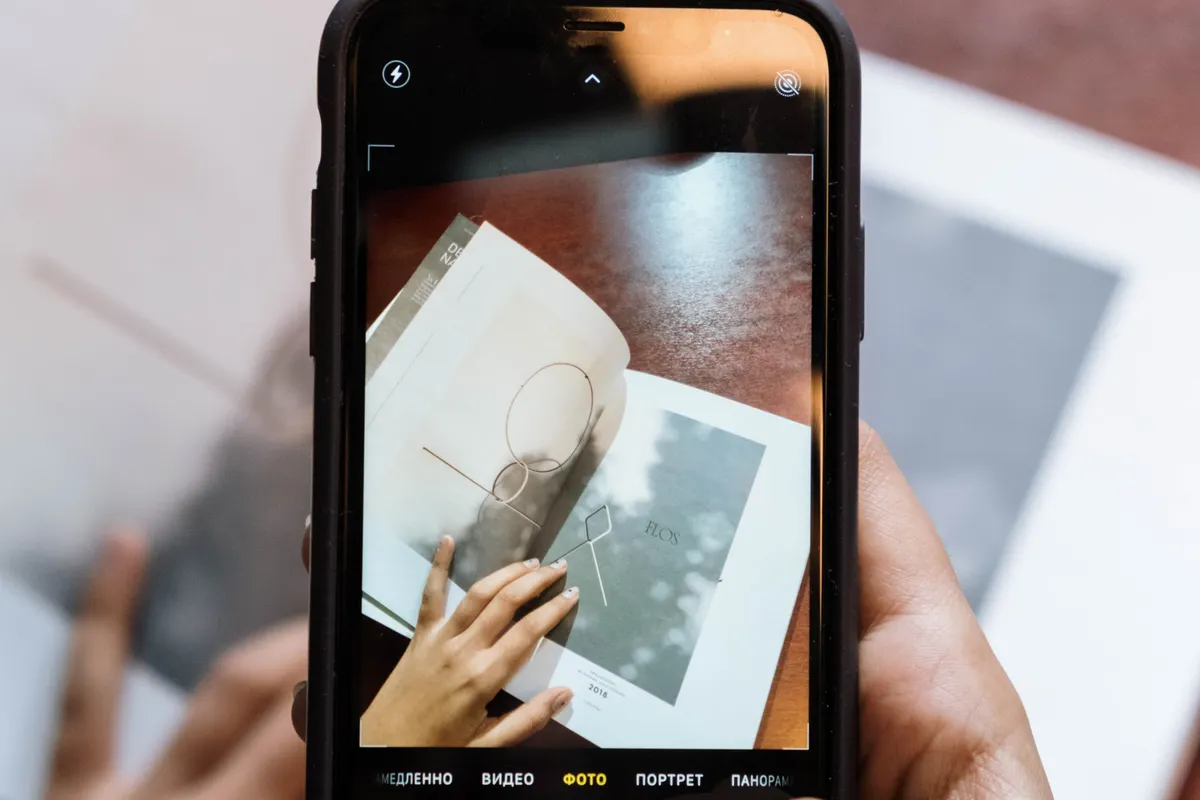
If you have a stack to get through, Google's free PhotoScan app (on iPhone and Android) is worth installing. It asks you to move the phone over four dots on the print, takes a shot from each angle, and combines them to remove reflections. It also finds the edges, straightens the photo and crops out the table.
What Can AI Photo Restoration Actually Fix?
More than it could a few years ago, and less than the before and after sliders on app store pages suggest. The honest version depends on whether the damage sits on top of the picture or has taken the picture away.
Damage on top of the picture repairs well. Dust, specks, fine scratches, the spider web of cracks on an old gloss print, fold lines and crease marks all fall into this group, because the image underneath is still there and the tool only has to remove what is covering it. Fading and colour casts are the same. A 1970s colour print that has turned orange, or a black and white print that has gone sepia and flat, still holds its tones; they have just shifted, and shifting them back is exactly what these models are good at.
Damage that has taken the picture away is different. A torn-off corner, a patch where the emulsion has flaked, a water stain that has lifted the surface: the tool will fill these in, and the fill is invented. Over a brick wall or a patch of sky, nobody will ever know. Over half a face, it is a portrait of someone the model imagined.
In March 2026 PetaPixel tested ON1's Restore AI on old family photos and found it adding makeup, changing features and turning people in the background into something unsettling, and How-To Geek ran a piece the same week arguing that many AI restorations are really new pictures built on top of the old ones. The underlying reason is the same one that affects upscaling: a generative model does not recover lost detail, it paints plausible detail, and a plausible face is not the same as your great-uncle's face.
If you never met the person in the photo, you have no memory to check the restored face against. The original scan is the only witness you have.
Try it with NeonSnap
Restore an old photo in about a minute
NeonSnap's restore tool sends your scan to Google's Gemini 3 Pro Image model with instructions to remove scratches, creases, dust, stains and fading, correct yellowing and colour casts, keep the original film grain, and leave the person's identity and age alone. Black and white stays black and white. It is free to try, needs no account, and the result comes back at 2K.
Try AI Restore free →How to Restore an Old Photo With NeonSnap
1. Make an upload copy of your scan
Keep the TIFF master where it is and export a high quality JPEG or PNG to upload. The tool accepts JPEG, PNG, WebP, GIF and BMP files up to 10 MB, and a 600 DPI TIFF will usually be too big and in the wrong format. The copy loses nothing that matters here.
2. Crop to what you care about
The upload is resized to 1000 pixels on its longest side before it reaches the model. For a portrait that is plenty. For a wedding group of thirty people it means each face gets a few dozen pixels, and the model will be guessing. Crop to the person or the handful of people you want before you upload, and do the rest of the group as separate crops if you need them.
3. Upload it and run the restore
Go to the restore page, upload the file and press restore. It usually takes somewhere between twenty seconds and a minute.
4. Compare every face at full size
Open the result and the original next to each other at 100 percent. Look at the eyes, the teeth, the ears and hairline, glasses, moles and the shape of the smile. Then check anything with writing on it: shop signs, cap badges, a date chalked on a board. If a face has drifted, use the restored version for the background and the original for the person, or try a tighter crop of the original.
5. Keep both files and label them
Save the result with "restored" in the filename and keep it next to the original scan. Someone in the family will one day want to know which is the real photo, and by then the people who could have told them may not be around.
What About Tears, Missing Pieces and Group Photos?
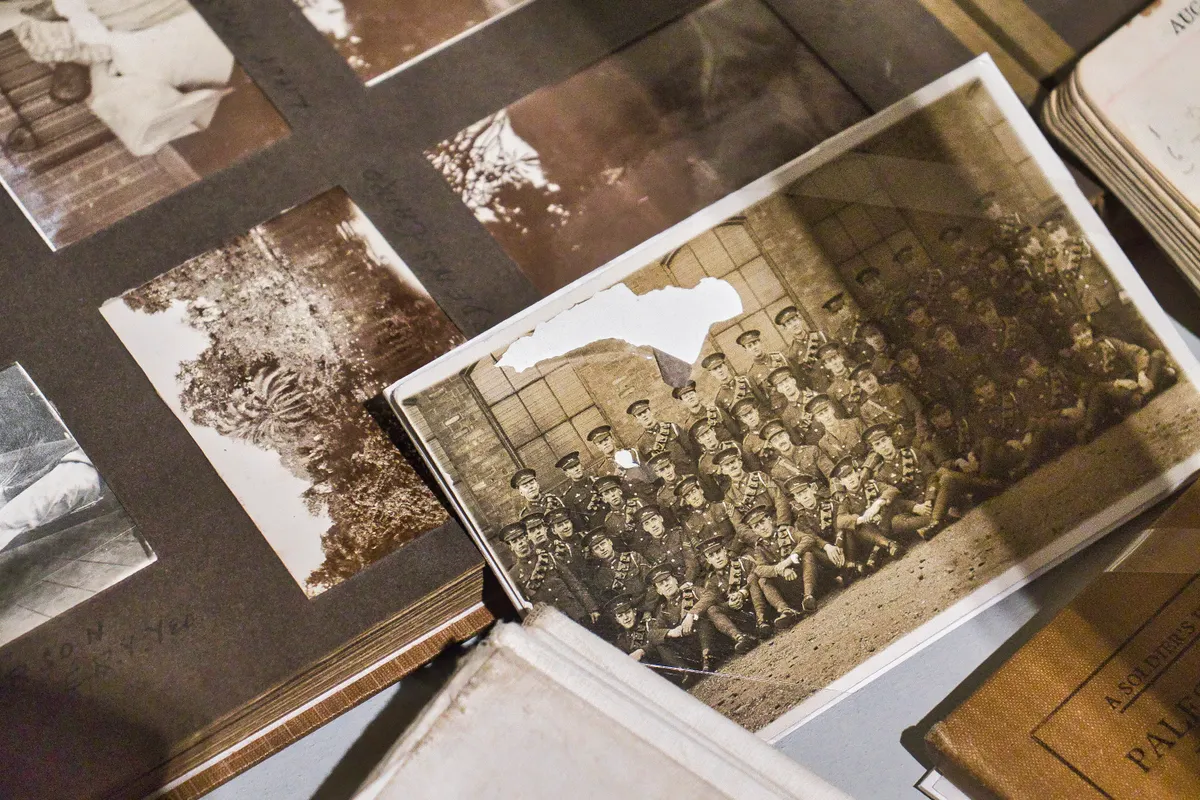
A tear through the background is the easy case. Scan the print with the two sides of the tear pushed as close together as you can manage without forcing them, and the tool will close the gap and match the texture on either side. A missing corner full of sky or wallpaper will be filled in so neatly you forget it was gone.
A missing piece that includes part of a person needs a decision. The AI will produce something whole, and it may look perfectly natural, but the chin or the eye it adds is made up. For a photo that is the only surviving picture of someone, this is where a human restorer earns their fee, because a person can rebuild the missing part from other photos of the same face, if the family has any, instead of from a guess.
Group photos get their own trap. The faces at the back are small, the model has least to go on, and the back row is where the strangers appear. Crop them into sections, restore each one, and give the back row the most careful look.
How Do You Restore Photos Without Photoshop?
You have four realistic routes, and the right one depends on the photo more than on the software.
- Free editors, by hand. GIMP on the desktop and Photopea in the browser both have healing tools that clone clean texture over a scratch or a dust spot. It is slow, but nothing you did not paint over changes. For a good print with a handful of marks, this is the most faithful option there is.
- Photoshop's Photo Restoration filter. If you already pay for Photoshop, Filter, then Neural Filters, then Photo Restoration gives you separate sliders labelled Photo Enhancement, Enhance Face and Scratch Reduction. The sliders mean you can turn the face work down when it starts changing people.
- A professional restorer. UK services list prices from around £9 for simple repairs, with most jobs falling between £15 and £50, and damage across a face costs more than damage in the background because it takes longer to do well. Worth it for the only photo of someone, for missing parts of faces, and for anything going on a wall at a funeral or a wedding.
- A browser AI tool like NeonSnap. One upload, a minute's wait, free to try. The right call for a box of ordinary family prints with ordinary wear, as long as you check the faces.
Plenty of people end up mixing them: AI for the box of holiday snaps, a restorer for the one torn portrait of a grandparent who died before anyone else was born.
Should You Colourise Old Black and White Photos?
NeonSnap's restore tool deliberately leaves black and white photos in black and white. Colourisation is a guess. No model knows what colour a dress was in 1952 or whether a front door was green or blue; it picks something likely for the period and presents it with total confidence. That can be lovely as a keepsake, especially if you ask older relatives what they remember before you start. Keep the black and white version as the record, and name the colour one as colourised so nobody mistakes it for the original later.
Getting a Restored Photo Ready to Print
A 2K restore is enough for a sharp 6x4 or 7x5 print, which covers most frames on most mantelpieces. Print a test at the size you want before ordering copies for the whole family, and look at it at arm's length rather than with your nose on the paper, because that is how everyone else will see it.
Then put the original print back somewhere cool, dry and dark. The Institute of Conservation suggests an internal cupboard, and warns against lofts, cellars, the floor, outside walls and hanging photos above a radiator.
Frequently Asked Questions
Can you restore old photos for free?
Yes. GIMP and Photopea are both free and let you repair scratches and creases by hand, which is slow but leaves everything you did not touch exactly as it was. NeonSnap's restore tool is free to try without an account and deals with scratches, creases, fading and colour casts in one pass, usually in under a minute.
What DPI should I scan old photos at?
600 DPI for ordinary prints, and 1200 DPI for small prints or when you plan to crop one face out of a group photo. Scan in colour even if the photo is black and white, because the colour scan records the yellowing and staining that a repair tool uses to tell damage apart from the picture. Save the master scan as TIFF or PNG and keep it untouched.
Does AI photo restoration change faces?
It can. AI restoration tools draw plausible detail where the original is damaged or too small to read, and on a face that means guessing at eyes, teeth and expression. Mild damage usually survives with the person still recognisable. A face that is tiny, heavily faded or partly missing can come back as someone who only resembles them. Compare every face with the original scan at full size before you share or print the result.
Can I scan old photos with my phone instead of a scanner?
Yes, if the print fills the frame and you avoid glare. A 6x4 print scanned at 600 DPI is about 8.6 megapixels, so a 12 megapixel phone camera held close and parallel to the print captures a comparable amount of detail. Google's free PhotoScan app helps with glossy prints by taking several shots from different angles and combining them to remove reflections.
Will NeonSnap colourise my black and white photos?
No. The restore tool keeps the photo's original colour mode, so a black and white print comes back as black and white with cleaner whites, deeper blacks and the damage repaired. Faded colour prints have their colour casts corrected instead.
Should I keep the original print after restoring it?
Yes, always. The restored file is an interpretation of the photo, and the print and the untouched scan are the only record of what it really showed. Store the print somewhere cool, dry and dark, such as an internal cupboard, rather than a loft or a cellar, and do not repair tears with tape or glue.
Restore an old photo now, free.
Upload a scan and get it back with the scratches, creases and fading repaired and the original grain kept. Check the faces against your scan before you download.
Try AI Restore free