Make yours now
 Enough for 10 ten second videos




A blurry photo is one of three different problems wearing the same coat. The camera moved, the focus landed on the wrong thing, or the file was saved too small and squashed on its way through a messaging app. Two of those can be fixed well. One cannot be fixed at all, whatever the app store tells you. Here is how to tell them apart, what AI upscaling genuinely does to a photo, and when to stop trying and ask for the original.
How to Fix Blurry Pictures
What AI Can Rescue and What Is Gone for Good
Most "unblur" tools skip the diagnosis and go straight to the sharpening slider, which is why so many people end up with a photo that is crunchier than before and no clearer. Zoom in first. Thirty seconds of looking at the actual pixels will tell you which of the three problems you have, and that decides everything that follows.
Sharpening cannot add detail that was never captured. It can only make the edges you already have shout louder.
Which Kind of Blur Do You Have?
Open the photo at full size and look at a hard edge, something like a window frame, a jawline or a line of text. What it looks like up close tells you what happened.
Camera shake or motion blur
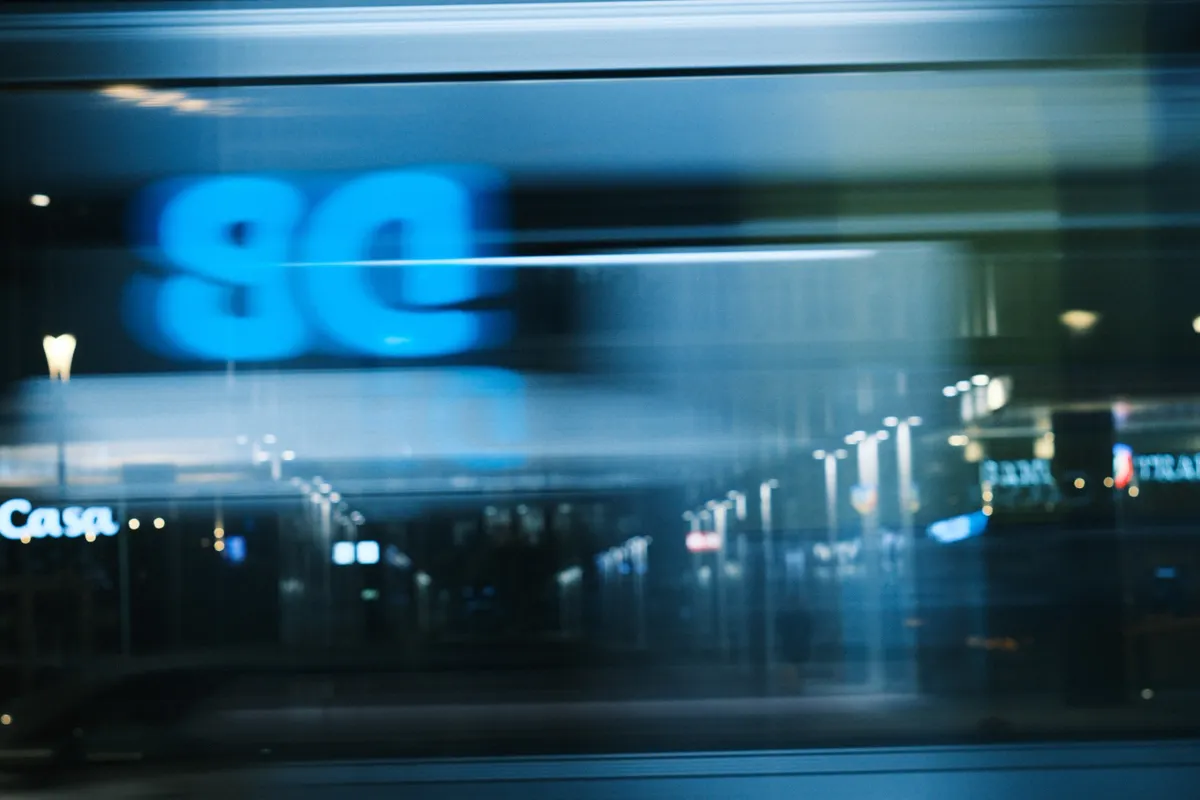
Everything is smeared in the same direction, and any bright point of light has become a short streak or a small squiggle. If the subject is smeared but the background is fine, the subject moved. If the whole frame is smeared, you moved. This is the hard one. The sensor recorded a blend of several positions and the sharp version was never written down anywhere.
Missed focus
One part of the picture is sharp and it is not the part you wanted. The wall behind someone is crisp, their face is soft. Edges are evenly fuzzy rather than streaked. Phones do this constantly indoors, when they lock on to the brightest thing rather than the nearest face. Mild versions of this respond well to AI.
Low resolution and compression
Edges look stepped or blocky, flat areas have faint square patches, and skin has a plastic, smoothed-over look. The photo was probably screenshotted, downloaded from social media, or sent through WhatsApp, which shrinks and recompresses every image it sends. This looks like blur when it is enlarged, but it is a different problem and it is the easiest to fix.
Noise pretending to be blur
Low light photos often look blurry when they are really speckled. The phone has boosted the sensor, then smeared the speckle away with noise reduction, taking the fine detail with it. This sits between the second and third categories and AI handles it reasonably well.
Why Does Sharpening Make It Worse?
The sharpen tool in every photo app does one thing: it increases contrast along edges. Light side gets lighter, dark side gets darker. On a slightly soft photo that reads as crispness. On a shaken photo it draws a bright halo around a smear, and on a compressed photo it turns the faint square patches into obvious ones. Neither has added a single pixel of real information.
There is a more clever traditional method called deconvolution, which tries to work out the path the camera took during the exposure and reverse it. It works on lab test charts and on a very small number of real photos. Adobe shipped a version of it in Photoshop as the Shake Reduction filter for nine years, then removed it in 2022, which tells you how often it helped.
What Does AI Actually Do to a Blurry Photo?
This is the part worth understanding before you upload anything, because it explains both why AI works so much better than sharpening and why it occasionally produces something unsettling.
An AI upscaler is not sharpening your photo. It is looking at your photo and drawing a new one that matches it. The model has seen millions of pictures of brickwork, hair, fabric, leaves and skin, so when it sees a blurred patch it knows what that patch probably looked like sharp, and it paints that in. For textures this is almost magic. A soft photo of a stone wall comes back looking like it was shot on a proper camera, because there is only one plausible way for a stone wall to look.
Faces are different, because there is only one correct way for a particular person to look and the model does not know it. On a mildly soft portrait the guess is close enough that nobody would notice. On a face that is tiny or heavily blurred, the model fills in eyes, teeth and skin texture that belong to a plausible person rather than the actual one. The result is sharp, and slightly wrong. The same applies to text, logos and number plates, where the model will produce confident letters that may not be the real ones.
AI upscaling restores textures and invents faces. Knowing which is which is the whole skill.
What Can Be Rescued, Ranked
In rough order of how pleased you will be with the result.
- Small, compressed or screenshotted photos. The best case. There is real detail in there, just not enough of it, and the model has plenty to work from. Old Facebook downloads, WhatsApp forwards and images lifted from a web page all fall in here.
- Slight softness and mild missed focus. Very good results. Edges come back, skin texture returns, and faces stay themselves because the original still held most of the information.
- Low light noise. Good. The model removes the speckle and rebuilds the detail underneath it, usually better than the phone's own noise reduction managed.
- Mild camera shake. Usable. The smear is short enough that the model can find the edges. Check faces carefully.
- Heavy motion blur. Not really. The result will be sharp and clean and the person in it will be a stranger who looks a bit like them. Ask for a different photo.
- Tiny thumbnails under about 200 pixels. The model can make a nice picture, but it is a picture of someone it made up. Fine for a texture or a landscape, not for a person you know.
Try it with NeonSnap
Upscale a blurry photo in about a minute
NeonSnap's free upscale tool sends your photo to Google's Gemini 3 Pro Image model with a single instruction: return the same picture at 2K, with sharper detail and texture and nothing else changed. No account needed, and you can compare the result side by side with the original before you download it.
Try AI Upscale free →How to Fix a Blurry Picture With NeonSnap
1. Find the biggest version you have
This matters more than anything else on the page. If the photo came through WhatsApp, ask the sender to send it again as a document rather than a photo, which skips the compression. If it is a screenshot of a photo, find the photo. If it was downloaded from social media, check whether the original is still sitting in someone's camera roll. Every extra pixel you feed the model is one it does not have to invent.
2. Upload it to the upscale tool
Go to the upscale page and upload the file. JPEG, PNG, WebP, GIF and BMP all work, up to 10 MB. The upload is resized to 1000 pixels on its longest side before it goes to the model, so there is no benefit in sending a 6000 pixel file, but there is a real cost to sending a 300 pixel one.
3. Run it and wait
The model takes somewhere between twenty seconds and a minute. The result comes back at about 2000 pixels on the long side, roughly double the input, with texture and edges rebuilt.
4. Compare at full size, not in the thumbnail
Everything looks good small. Open the result at 100 percent and go straight to the faces. Check the eyes, the teeth, any moles or freckles, and anything with writing on it. If a face has drifted, the original was too far gone for a portrait and the result is fine for the background but not for the person.
5. Download and keep the original
Save the result but do not delete what you started with. Models improve, and the version you get next year from the same soft original will be better than the one you got today.
What About Old Prints and Damaged Photos?
A scan of a print from the eighties has all the problems above at once, plus fading, colour casts, creases and the grain of the original film. Upscaling alone tends to sharpen the creases along with everything else. That is a restoration job rather than an upscale, and the two tools are separate for a reason.
lightbulb
For scanned prints, use NeonSnap's AI Restore tool first. It is built to deal with fading, damage and colour shift as well as softness. If the result still needs to be bigger for printing, run the restored version through the upscale tool afterwards.
What the Other Options Are
Honest comparison, since you may already have one of these to hand.
- Your phone. Google Photos on a Pixel has a Photo Unblur button that does a decent job on mild shake and softness. Samsung has a similar remaster option. iPhones do not have a true unblur, only sharpening.
- Lightroom and Photoshop. The Enhance menu has a Super Resolution option that doubles the pixel dimensions with reasonable intelligence. It is conservative, so faces stay faithful, but it will not rescue anything genuinely blurred. It also needs a subscription.
- Desktop AI apps. Topaz Photo AI and its competitors are the most controllable option, with separate sliders for sharpening, noise and upscaling, and they are the right choice if you have hundreds of photos to fix. They are paid software and take a while to learn.
- Browser tools like NeonSnap. One upload, one result, free to try. Less control, no install, and the right answer for the one photo you need fixed by tonight.
How to Stop It Happening Next Time
Nothing here is new, but it is worth a paragraph because every fix above is a compromise and the original is always better.
Tap the screen on the face before you shoot, so the phone focuses where you want rather than on the lamp behind them. Hold the phone with both hands and brace your elbows, and if it is dark, use night mode and stand still for the two seconds it asks for. Do not use the digital zoom on a phone, ever. It is a crop dressed up as a zoom, and it throws away exactly the pixels you will later wish you had. Walk closer instead. And when the photo is good, send the original file rather than the compressed copy your messaging app makes, so that the version everyone keeps is the sharp one.
If you are taking photos of yourself, our guide on how to look good in photos covers the lighting and angle side of the same problem, and the headshot guide goes into getting a properly sharp, usable portrait from a phone.
Frequently Asked Questions
Can a blurry picture actually be fixed?
Sometimes. A photo that is soft, small or heavily compressed can usually be made to look sharp again with AI upscaling, because the model rebuilds texture and edges from what is still there. A photo with heavy motion blur or camera shake cannot be truly recovered by anything, because the detail was never recorded. AI can make it look cleaner, but the fine detail will be invented rather than restored.
What is the difference between a blurry photo and a low resolution photo?
Blur happens at the moment of capture: the camera moved, the subject moved, or the lens focused on the wrong thing, so edges are smeared. Low resolution happens afterwards: the photo was saved small, screenshotted, or compressed by a messaging app, so edges are blocky and stepped when you zoom in. Low resolution is the easier of the two to fix.
Does AI upscaling change people's faces?
It can. AI upscaling generates plausible detail rather than recovering real detail, and on a face that means the model is guessing at the eyes, teeth and skin. On a mildly soft photo the guess is usually close. On a very small or very blurred face the result can look like a slightly different person. Always compare the result with the original at full size before you share it.
How does the NeonSnap upscale tool work?
You upload a photo, the tool sends it to Google's Gemini 3 Pro Image model with an instruction to output the same picture at 2K resolution, sharpening detail and texture while keeping the composition and colours unchanged. The upload is resized to 1000 pixels on its longest side first, and the result comes back at roughly 2000 pixels on that side. It is free to try and does not need an account.
Why does a photo look sharp on my phone but blurry on a bigger screen?
Phone screens are small and dense, so a soft or low resolution image gets shrunk to a size where the softness disappears. On a laptop, a TV or a print, the same image is shown closer to its real pixel size or stretched beyond it, and every flaw becomes visible. If a photo only needs to live on a phone it may not need fixing at all.
Is fixing a blurry picture with NeonSnap free?
Yes. The upscale tool is free to try with no account, and the restore tool for old or damaged photos is free to try as well. The result can be downloaded straight from the page.
Fix a blurry photo now, free.
Upload the biggest version you have and get it back at 2K with the detail rebuilt. Compare it with the original before you download.
Try AI Upscale free